
Getting Started
Build a working Meta Box in a few minutes, then add advanced behavior only when you need it.
Screenshots and walkthrough — expand to view
Screenshots use sample data and English labels. Follow the translated instructions on this page; your theme, language, permissions and license can change the available controls. Select an image to view it at full size.
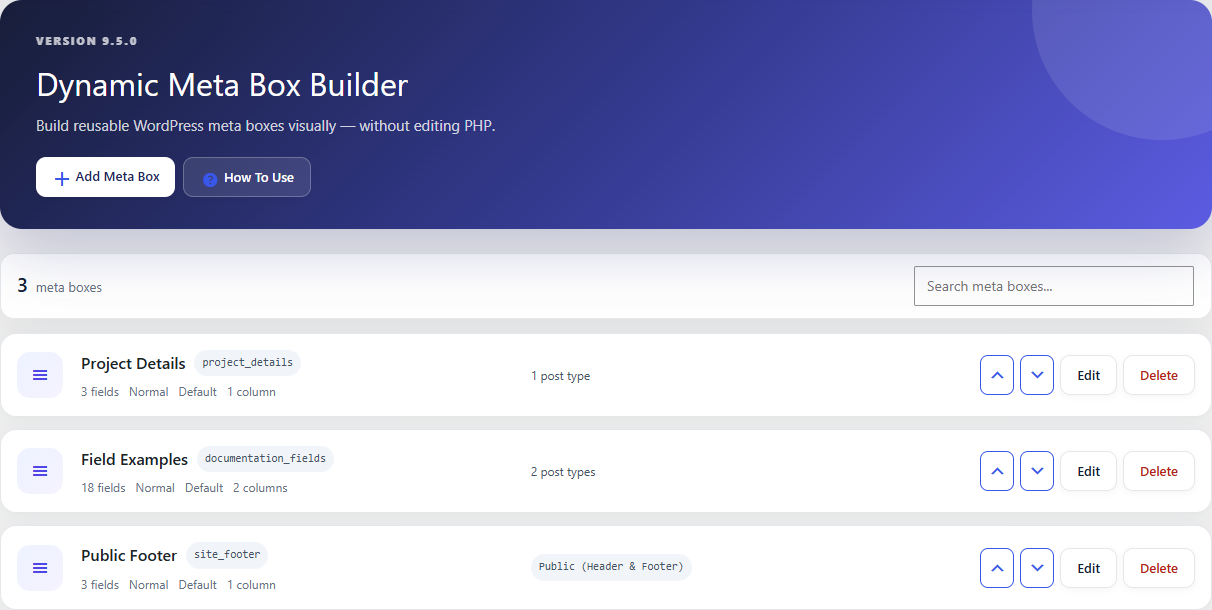
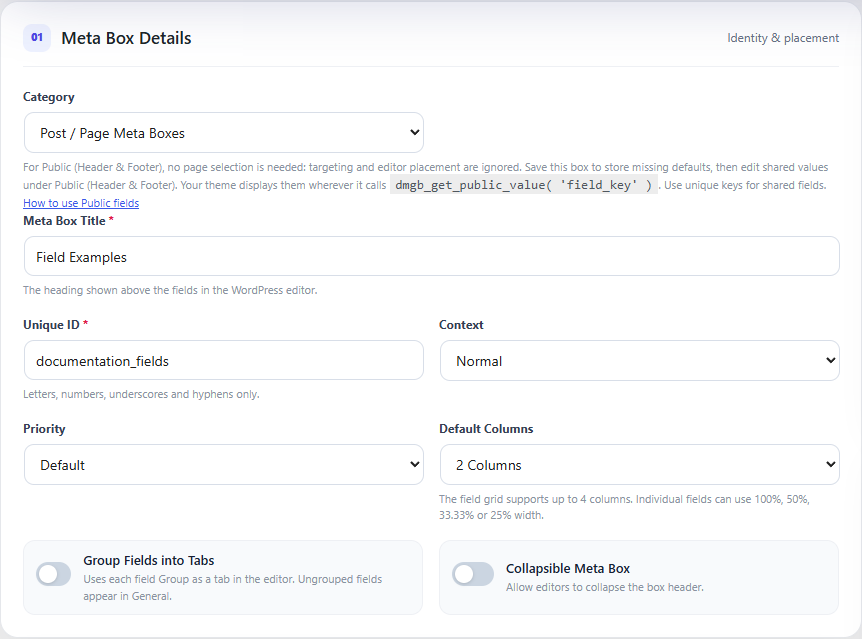
1. Create the box
Open Meta Box Builder → Add New. Give the box a clear title, choose its editor context and priority, then add fields.
2. Configure fields
Every field needs a human-readable label and a unique meta key. Use the field type that matches the data you want to store. Drag fields to reorder them and use columns or groups to improve the editor layout.
3. Decide where it appears
Use the Targeting section for post types, specific posts/pages, templates, status, hierarchy, taxonomy, roles and capabilities. Existing boxes keep the legacy matcher unless you explicitly enable the v2.7 rule engine.
4. Save and test
Save the box, open a matching post, and verify the fields.
Documentation for Dynamic Meta Box Builder 9.5.0.